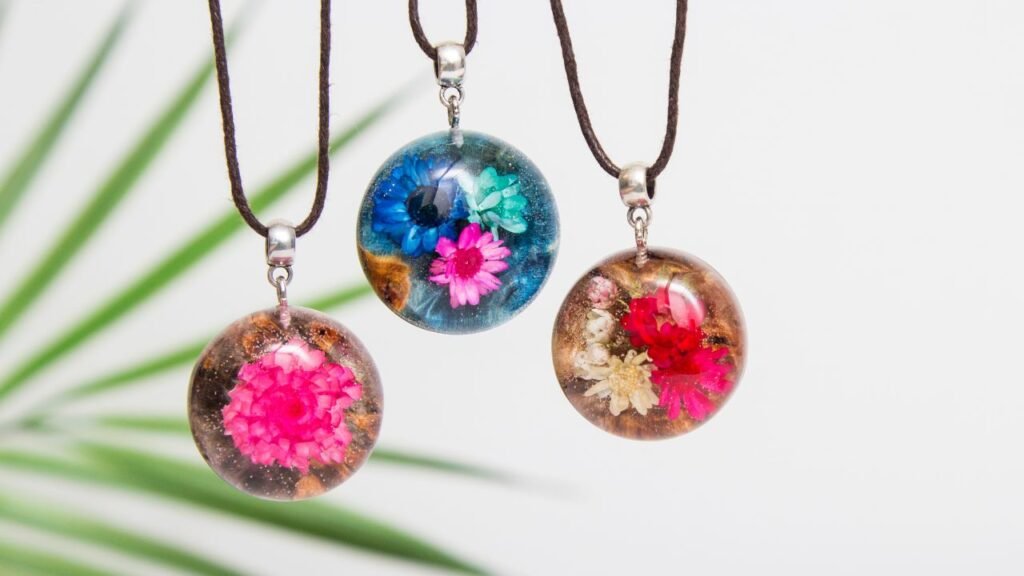
Imagine a passionate creator hovering delicately over a workbench. With meticulous care, they place perfectly dried, fragile wildflowers inside an intricate, custom silicone mold. They prepare a mixture of crystal-clear liquid, carefully pouring it over the delicate petals to suspend them in time. The anticipation builds over the next 48 hours. But when the moment of truth arrives and the creator peels back the silicone mold, tragedy strikes. The highly anticipated pendant is a cloudy, sticky disaster, completely ruined by thousands of trapped micro-bubbles. The center stubbornly refuses to harden, permanently destroying the expensive botanicals and the beautiful silver frame.
Heartbreak sets in instantly. Hours of meticulous labor and expensive materials have been wasted in a single pour.
This devastating scenario happens daily to ambitious crafters. The fatal mistake? Treating this advanced, industrial-grade material like ordinary crafting glue.
Epoxy resin is an incredibly powerful, chemically engineered thermosetting polymer. When the liquid epoxide resin (the “A side”) mixes with a polyamine hardener (the “B side”), a violent, exothermic chemical reaction known as polymerization begins. The molecules permanently cross-link, forming an incredibly rigid, three-dimensional network. Because this transformation relies on a permanent chemical bond rather than physical drying, the cured material becomes virtually unbreakable—it will never remelt, soften, or dissolve easily.
Understanding the hardcore, foundational science behind this unbreakable liquid is what separates frustrating failures from breathtaking, glass-like wearable art. Epoxy sits at the absolute top of the hierarchy in terms of performance compared to materials like polyester or polyurethane. By following exact scientific rules, any creator can consistently produce flawless masterpieces.
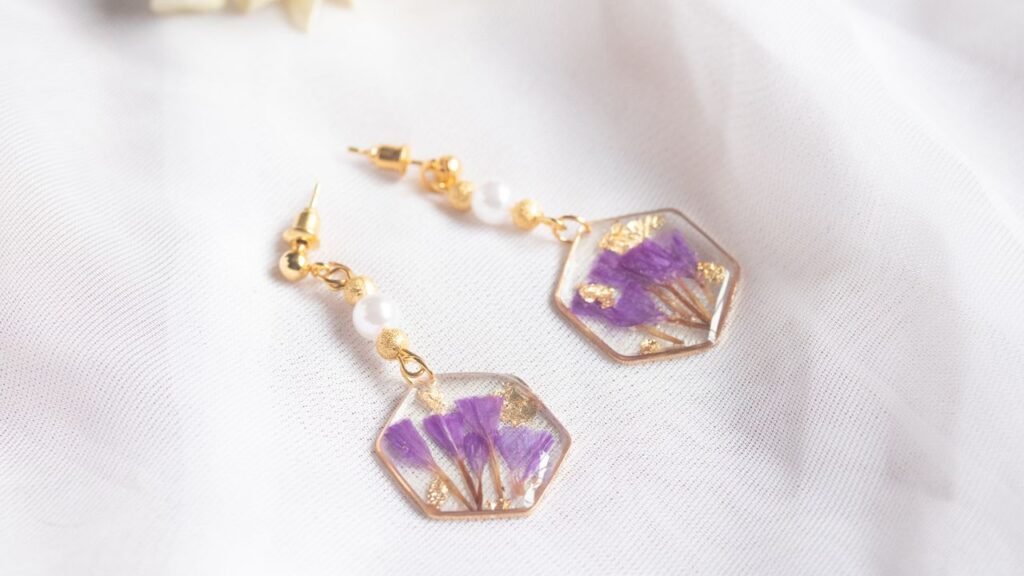
Here are five professional DIY resin jewelry ideas, techniques, and chemical rules to truly master the craft.
1. DIY Resin Jewelry Ideas Demand Absolute Mix Precision
The foundation of every successful jewelry piece is established before the liquid ever touches the mold. Because epoxy relies entirely on a chemical reaction to cure, guessing the measurements guarantees catastrophic failure.
A highly pervasive amateur myth suggests that adding extra hardener will force the jewelry to cure faster. Chemical science disagrees completely. Epoxy systems strictly require an exact mix ratio—most commonly 2:1 or 4:1 by volume or weight. If the mathematical ratio of resin to hardener is even slightly unbalanced, the epoxide and polyamine molecules fail to find each other to properly cross-link. The tragic result is a pendant that remains a gooey, sticky mess forever.
Absolute precision is mandatory for small-scale jewelry. Creators must utilize a highly accurate digital scale. Place a clean plastic mixing cup on the scale, tear it to zero, and pour the exact required gram weight of the resin. Follow this immediately with the exact corresponding weight of the hardener.
Once combined, methodical blending is required. Stir the liquids thoroughly for at least a full minute, ensuring the wooden stirring stick firmly scrapes the sides and bottom of the container. Unmixed resin clinging to the cup walls will never cross-link, leaving sticky, uncured spots inside the finished piece. Finally, mix in a room where the ambient temperature sits comfortably between 20 and 25 degrees Celsius. Cold environments stall the vital chemical reaction, while hot rooms aggressively and dangerously accelerate it.
2. The 40°C Bubble Elimination Secret
The epic, frustrating battle against trapped micro-bubbles is where many creators throw their hands up in defeat. Mixing thick, highly viscous liquids naturally introduces air, resulting in a cloudy, frothy appearance inside tiny jewelry molds. While frantic beginners often attack these bubbles immediately with a heavy blowtorch, a highly elegant, scientific solution exists: the warm water bath.
Before opening the bottles, ensure the caps are screwed on with extreme tightness. If a single drop of water or moisture drips into the unmixed resin, it permanently destroys the chemical cross-linking process. Submerge the tightly sealed bottles into a water warmer or bath heated to exactly 40 degrees Celsius for ten minutes.
This professional technique works flawlessly because high temperatures force the thick liquid to become significantly thinner. When the warmed resin and hardener are finally combined, trapped air bubbles face zero resistance. They effortlessly rise to the surface and escape into the air, leaving a completely bubble-free, flawless liquid perfectly primed for delicate jewelry.
3. The Meniscus Pour and Flawless Molds
Pouring liquid into small silicone molds requires an understanding of how thermosetting polymers behave as they cure. Creators should intentionally fill the small jewelry molds slightly over the top lip to create a small meniscus—a slight bulge.
As the exothermic chemical reaction progresses and the liquid solidifies, epoxy naturally shrinks gently. Creating this intentional meniscus prevents the final hardened casting from looking concave or hollow on the back side. Once poured, a quick, sweeping pass over the wet surface with the flame of a long-neck lighter instantly burns off any stubborn surface bubbles that remain without scorching the silicone.
Furthermore, preparation of the workspace is crucial. Silicone molds must be kept entirely free of dust, pet hair, and debris. Because the cured material replicates its container down to the microscopic level, every speck of dust or unwanted particle will be permanently suspended and reflected in the finished clear product.
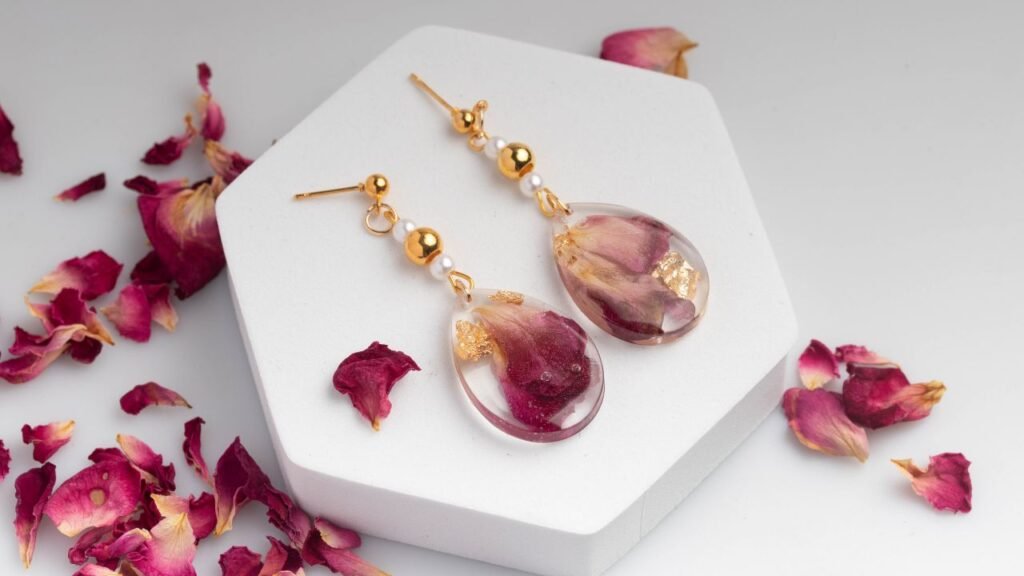
When the pieces are demolded, jewelry makers must often attach metal findings or bails. Epoxy forms a spectacularly strong, waterproof bond in three ways: mechanically, by proximity, and ionically at an atomic level. A tiny drop of fresh resin used as an adhesive to attach a silver bail will outperform nearly any commercial superglue on the market.
4. The 8 Percent Pigment Rule for Dazzling Colors
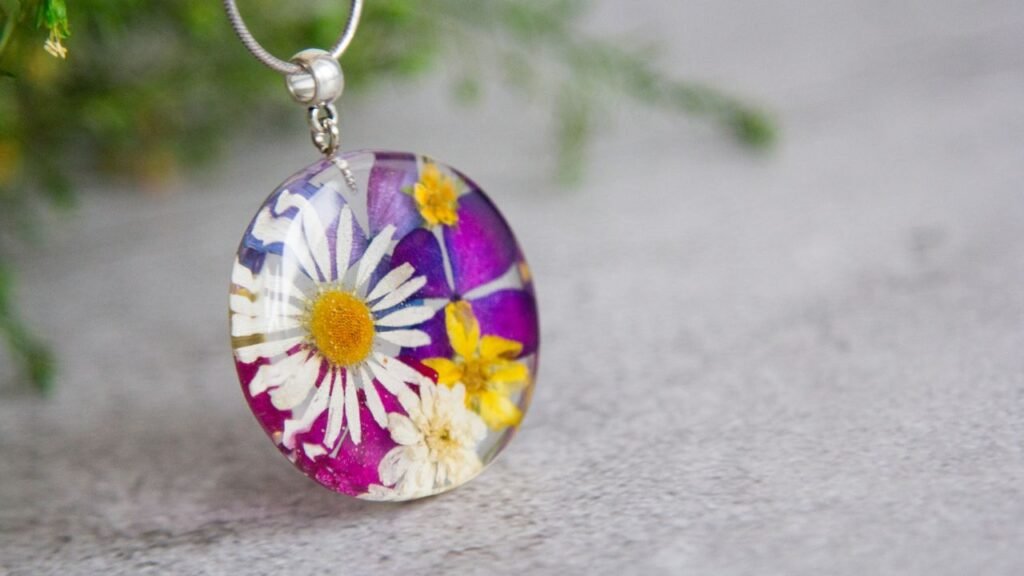
Adding vivid color transforms a simple clear cast into a stunning, ethereal piece of wearable art. However, selecting the wrong colorant completely derails the delicate chemistry.
Get: molds ,tools, kits, mixer, pigments
Creators exploring DIY resin jewelry ideas have four primary coloring tools to choose from:
- Translucent Dyes : Perfect for creating an elegant, glass-like finish. These dyes gently tint the material while allowing natural light to pass entirely through the finished solid.
- Mica Powders : Fine, pearlescent powders that add a shimmering, swirling sheen. A tiny amount goes a very long way, but it must be stirred thoroughly to prevent dry, clumpy dots from appearing in the final cure. Using a toothpick to swirl the mica inside the mold creates breathtaking, galaxy-like patterns.
- Alcohol Inks : Highly popular for creating stunning, three-dimensional “Petri dish” effects or suspended blooms inside pendants. These dynamic inks drop onto the wet surface and sink beautifully.
- Opaque Pigment Pastes : Thick, heavy pastes that provide solid, deeply saturated color.
Regardless of the chosen colorant, one universal scientific law strictly applies: the 8 percent rule.
Never add more than 8 percent pigment—whether liquid dye, ink, or powder—to the total volume of the mixture. Dumping too much pigment into the mixing cup physically oversaturates the solution. The heavy color particles block the epoxide and polyamine molecules from bonding, entirely preventing the chemical curing process. Always start with just a few drops or a tiny scoop of powder. You can always add a fraction more to reach the desired shade, but you can never extract it once mixed.
5. Defeating the Dangerous Flash Cure
Even when executing small DIY resin jewelry ideas, understanding heat management and the timeline of the curing process is essential.
Get: molds ,tools, kits, mixer, pigments
There are specific stages to polymerization. The “pot life” is the specific amount of time the resin and hardener remain workable as a liquid after mixing. Following this is the “gelling time,” the milestone where the resin loses its liquid consistency, transforming into a viscous, rubbery state where it no longer flows.
As the molecules furiously cross-link during the pot life, they generate intense exothermic heat. If a creator mixes a massive volume of resin in a single, deep plastic cup—perhaps attempting to pour dozens of pendants simultaneously—the concentrated heat generated in the center of the cup has absolutely nowhere to escape. The internal temperature skyrockets exponentially.
Within minutes, the mixture violently overheats, smokes, and instantly hardens into a cracked, useless block of plastic inside the cup. It can even melt the mixing container itself. Industry professionals call this catastrophic disaster a “flash cure”.
To completely avoid this costly failure, creators must fiercely manage the pot life. The golden rule is dividing large batches of freshly mixed resin into several smaller, shallow jugs. By spreading the liquid out thinly, the dangerous exothermic heat easily dissipates into the surrounding air, safely buying the creator plenty of working time to perfect their intricate jewelry pours.
Elevate Your Craft with the Right Tools
Resin crafting is a breathtaking intersection of wild artistic vision and strict chemical science. From the initial precise weighing on a digital scale to the final, highly satisfying demold 48 hours later, every single step requires exactness.
When a creator deeply understands how thermosetting polymers cross-link, how a 40-degree water bath perfectly eliminates micro-bubbles, and how to safely dissipate exothermic heat, the fear of ruined projects totally vanishes. The unbreakable liquid becomes a flawless blank canvas for limitless imagination.
But knowledge alone cannot salvage cheap, low-grade materials. The brilliant quality of the final glass-like pendant depends entirely on the caliber of the raw supplies used. Do not gamble hours of meticulous crafting, expensive botanical inclusions, and pure artistic passion on unverified resins that yellow aggressively over time, bubble uncontrollably, or fail to cure properly.
To guarantee that your next jewelry pour is a flawless, crystal-clear triumph, professional-grade equipment is an absolute necessity. Equip your creative studio with high-precision digital scales engineered for exact chemical ratios, brilliant pearlescent mica powders that blend seamlessly without clumping, and premium, low-odor epoxy kits formulated specifically for perfect self-leveling clarity.
Browse our complete collection of professional resin crafting supplies today. Give your wearable art the premium, indestructible finish it demands. Stop guessing, start measuring, and boldly transform your liquid imagination into permanent reality.
Get: molds ,tools, kits, mixer, pigments