Imagine a dedicated craftsman standing over a workbench, admiring a beautiful, jagged slab of raw walnut. The vision is ambitious: a custom “Lisa’s Kitchen” sign featuring intricate, multi-colored floral inlays. They spend hours manually carving the letters, but the edges are jagged, and the depth is uneven. When they finally pour the liquid epoxy, the disaster becomes permanent. The resin bleeds into the wood grain, air bubbles turn the clear sections cloudy, and because the carve was too shallow, the design vanishes entirely when they try to sand it smooth.
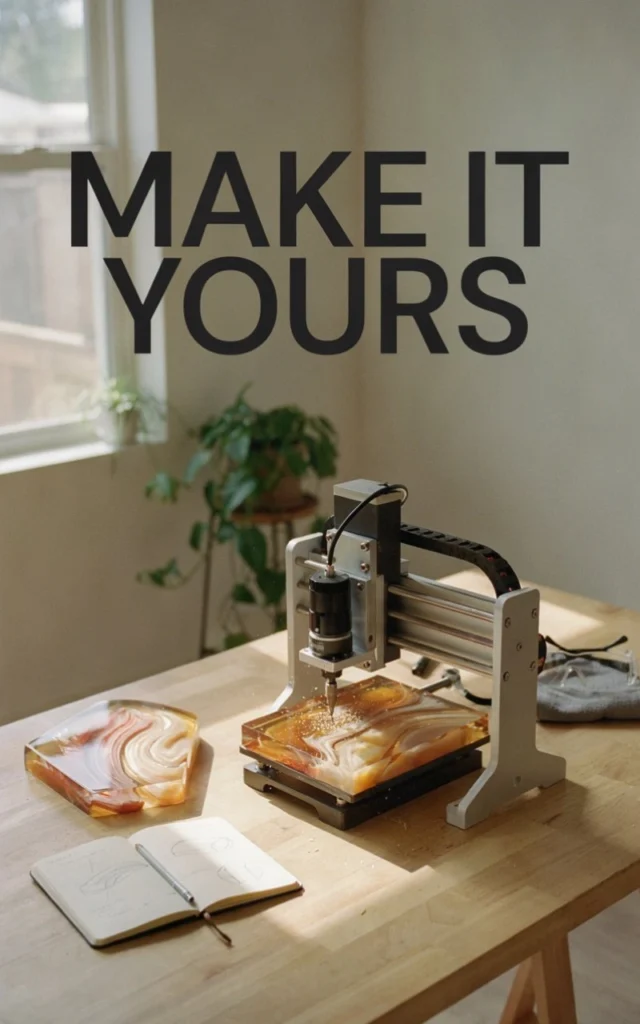
This heartbreaking scenario is the reality for many artisans treating this advanced industrial material like ordinary craft glue. CNC milling epoxy resin changes the hierarchy of performance, replacing manual frustration with scientific precision. Epoxy is not a simple paint; it is an advanced thermosetting polymer that undergoes a powerful chemical reaction called polymerization. When you combine the power of a CNC epoxy resin milling machine with the “unbreakable liquid,” you unlock the ability to create glass-like inlays and 3D patterns that are physically impossible to achieve by hand.
Whether you are exploring CNC milling epoxy resin jewelry or massive wood and resin projects, success depends on mastering the intersection of digital design and chemical science. Here are the six professional secrets to mastering this craft.
1. CNC Milling Epoxy Resin Techniques: The V-Carve Advantage
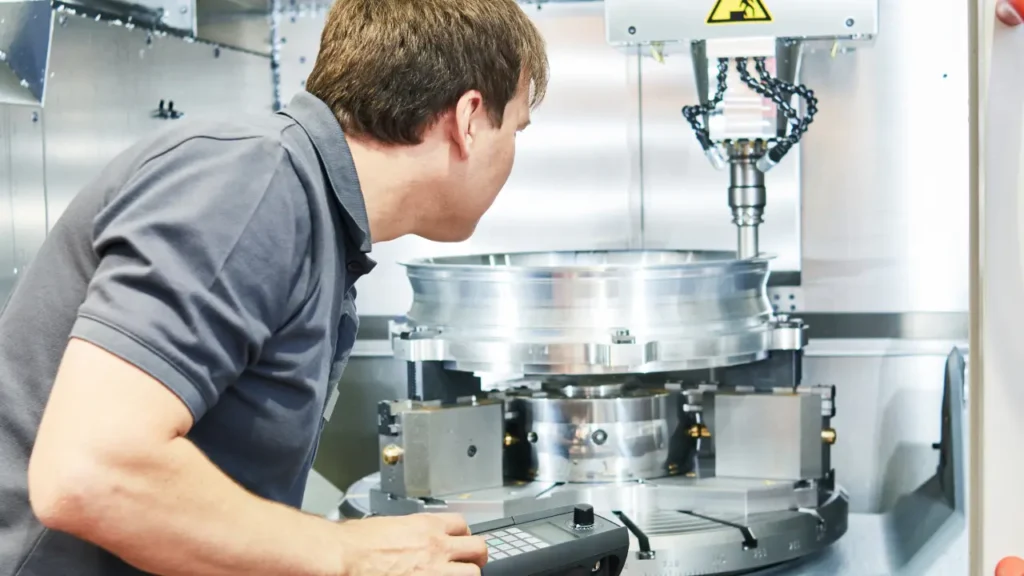
The most effective method for high-detail work is the V-carve inlay. By using a 60-degree or 90-degree V-bit, the CNC can achieve sharp corners and fine lines that a standard end mill cannot reach. When designing epoxy resin CNC milling patterns, you must ensure your vectors are clean. Imported PDF or DXF files often contain “messy” vectors with overlapping lines that confuse the software, leading to broken tool tips or failed carves.
A critical technique involves setting a “Start Depth.” For resin projects with wood, if you carve to exactly zero depth, you risk losing the design when you surface the board later. By forcing the CNC to start its toolpath roughly 0.5mm (0.020″) below the surface, you ensure the resin pocket is deep enough to survive the final “skimming” process.
2. Choosing the Right CNC Epoxy Resin Milling Machine and Bits
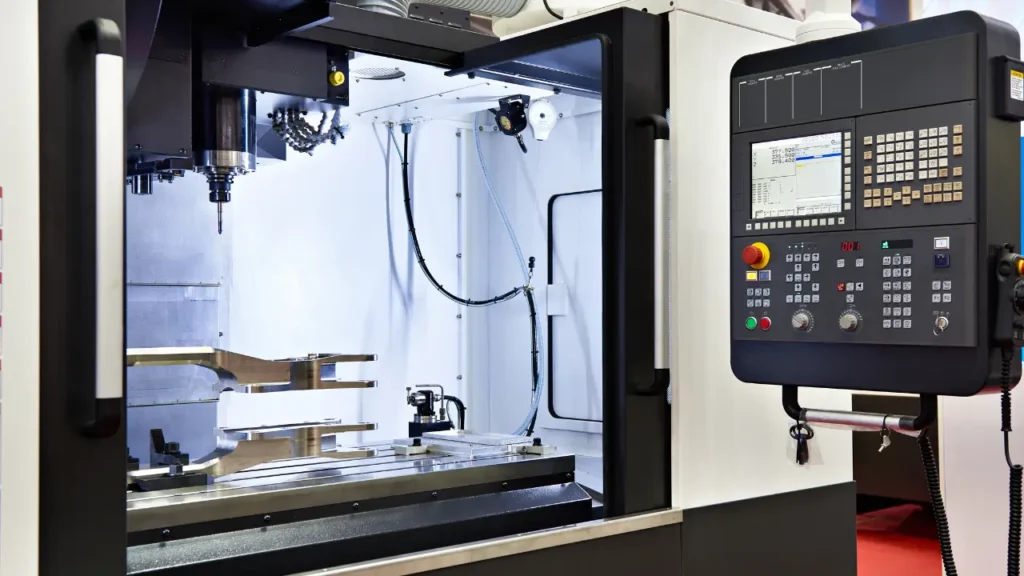
You do not need a $50,000 industrial machine to produce professional results. Mid-range hobbyist machines like the Axiom AR16 or budget-friendly options like the Genmitsu 4040 Pro are more than capable of handling the forces required for cnc milling epoxy resin.
The real secret lies in the tooling. For milling solid epoxy or epoxy tooling boards, carbide bits are mandatory due to their hardness.
- Down-cut Spiral Bits: These are the “workhorses” of resin milling. Unlike up-cut bits, they push the material downward, which significantly reduces “chip out” on the surface of the resin.
- Single-Flute End Mills: For clearing large areas, a single-flute up-cut bit is often preferred because it produces cleaner chips and reduces heat buildup, preventing the resin from melting or “gumming up” the tool.
- Speeds and Feeds: For a 1/8″ end mill, optimal settings typically fall between 40 to 60 inches per minute (IPM) at 10,000 to 14,000 RPM.
3. The “Unbreakable” Seal: Preventing Grain Bleed
One of the most common diy resin projects failures is “bleeding,” where the liquid resin seeps into the wood grain around the carve, creating a permanent stain. Porous woods like Oak or Walnut are particularly prone to this.
To achieve resin art on wood with crisp, sharp lines, you must “seal” the carve before the main pour. While some try shellac or lacquer, the most reliable sealer is the epoxy resin itself. Brushing a thin coat of clear resin over the freshly milled pockets closes the wood’s pores. Once this seal coat cures (typically 24 hours), it creates an impermeable barrier, ensuring your colored resin stays exactly where the CNC carved it.
4. Epoxy Resin CNC Milling Design Ideas for Jewelry and Art
The precision of a CNC allows for CNC milling epoxy resin custom designs that involve multiple layers of color. For a high-end plaque, you might carve a deep pocket for a black background, let it cure, and then have the CNC “re-machine” secondary pockets into that hardened black resin for white, green, or yellow details.
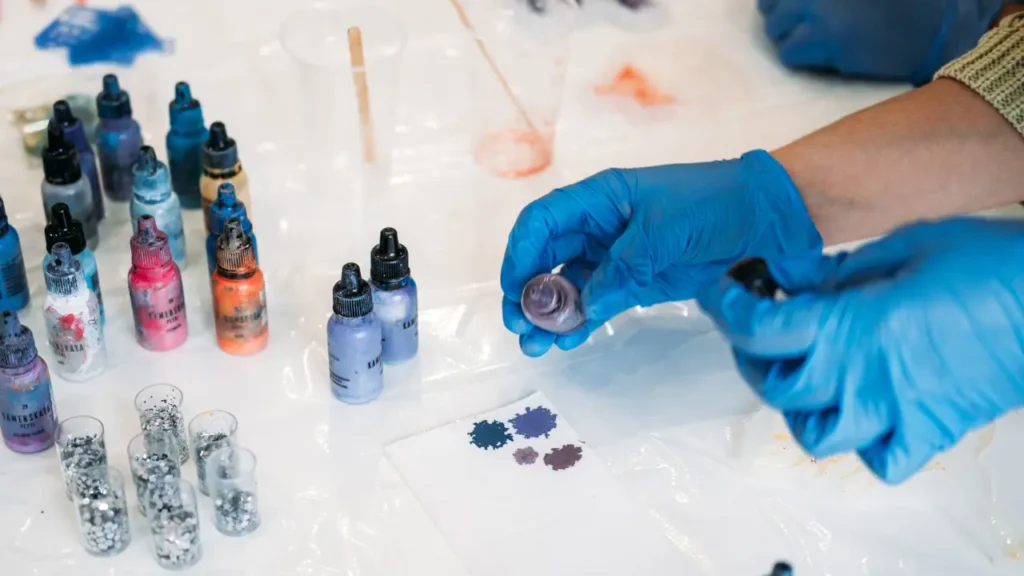
This layering technique is perfect for CNC milling epoxy resin art. Because epoxy forms an ionic bond at an atomic level, the new layers will permanently weld to the previous ones, creating a single, unbreakable solid. This is the same technology used in CNC milling epoxy resin jewelry, where tiny, 3D-milled pendants can encapsulate fluorescent pigments that glow in the dark or pearlescent mica powders that catch the light like liquid silk.

5. Mastering the Pour: Bubbles and Flash Cures
Even with a perfect CNC carve, the project can fail during the “pour.” Air bubbles are the enemy of clarity. The professional secret to bubble-free resin is a 40°C warm water bath. Before mixing, submerge your tightly sealed resin bottles in warm water for 10 minutes. This thins the liquid, allowing trapped air to rise and escape effortlessly.
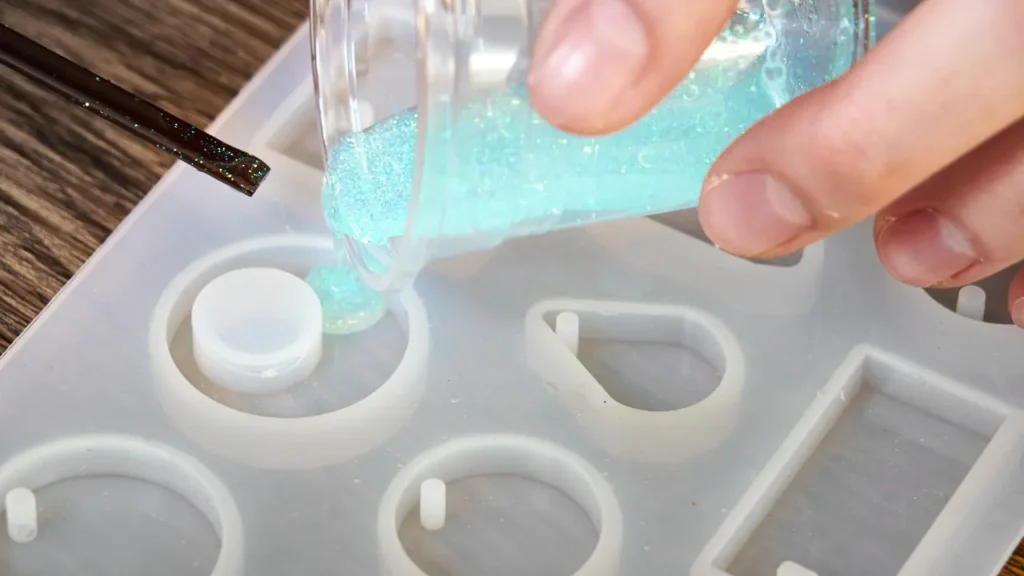
Furthermore, you must manage “exothermic heat.” When resin and hardener mix, they generate their own heat. If you pour a massive volume of resin into one deep pocket, it can trigger a “flash cure”—the resin will smoke, crack, and potentially melt your project. For deep wood and resin projects, always divide your mixture into smaller, shallow cups to let the heat dissipate safely.
6. Finishing Your CNC Resin Projects to a Mirror Gloss
Once the CNC has “skimmed” off the excess resin to reveal your design, the surface will likely look dull or white from the tool marks. This is not a mistake; it is part of the resin crafts tutorial process.
To bring back the glass-like shine:
- Sanding: Progress through wet-and-dry sandpaper grits, starting at 80 and moving up to 800 or even 1200.
- Sealing: For patterns and molds, products like S120 Advanced Board Sealer are used to provide a high-gloss finish.
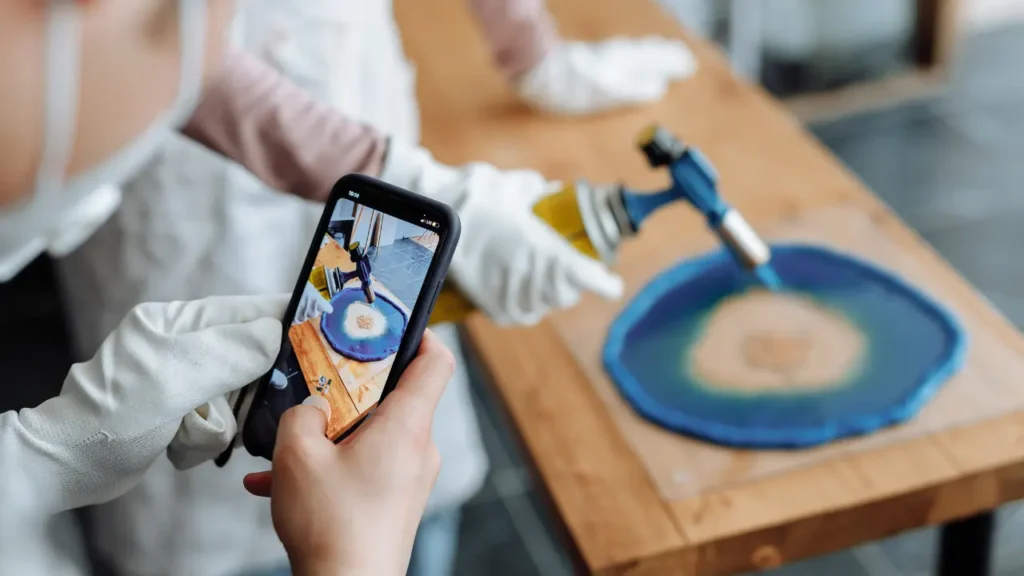
- Top Coating: For art pieces, a final “flood coat” of clear epoxy or a high-quality UV-protective polyurethane varnish will make the colors pop and protect the piece from “chalking out” in the sun.

Conclusion: Elevate Your Shop with CNC Precision
CNC milling epoxy resin is the ultimate intersection of material science and digital fabrication. By understanding that epoxy is a thermosetting polymer requiring absolute 2:1 or 4:1 mix precision, and by utilizing proper CNC milling epoxy resin techniques like pre-sealing and down-cut bits, you can transform a simple piece of wood into an unbreakable masterpiece.
Stop struggling with crooked manual carves and sticky, ruined surfaces. The quality of your final artwork is only as good as the tools you use. To guarantee your next project achieves professional clarity and permanent strength, you need the right supplies. Equip your workshop with high-precision digital scales for exact ratios, West System or Total Boat high-performance resins, and premium Amana down-cut bits designed for the toughest polymers.
Explore our collection of professional resin crafting tools today and turn your liquid imagination into a permanent, glass-like reality. Don’t just make art—make it unbreakable.