A clear epoxy finish starts before the pour, not after. Most cloudy, streaky, or soft results come from small mistakes in the mixing process — not from the epoxy “going bad.”
If your epoxy resin has ever cured with haze, tiny bubbles, or sticky spots, the trouble usually started with the ratio, the mixing cup, or the room temperature. Learning how to mix 2-part epoxy correctly is less complicated than it seems, once you understand what each step is actually doing.
Once the setup is clean and the mix is exact, a glass-like finish becomes easy to repeat.
What you need before mixing epoxy resin
The right type of epoxy resin for your project
Not every epoxy is built for the same pour depth or surface. A tabletop epoxy is made for thin coatings (typically under ¼ inch), while a deep-pour casting resin handles thicker fills of 2 inches or more in a single layer. Art resin, bar-top resin, and casting resin also cure at different speeds and release bubbles differently.
Common epoxy resin types:
- Tabletop / bar-top epoxy — thin coats, fast cure, high gloss. Best for countertops and bar surfaces.
- Casting / deep-pour resin — slow cure, low heat output, thick pours. Best for river tables and molds.
- Art resin — low viscosity, short working time. Best for paintings and small craft projects.
Read the label before you measure anything. Check whether the epoxy resin mixing ratio is specified by volume or by weight — these are not interchangeable.
Essential tools and safety equipment
Gather everything before you start. Once Part A and Part B are combined, the clock is running.
Tools:
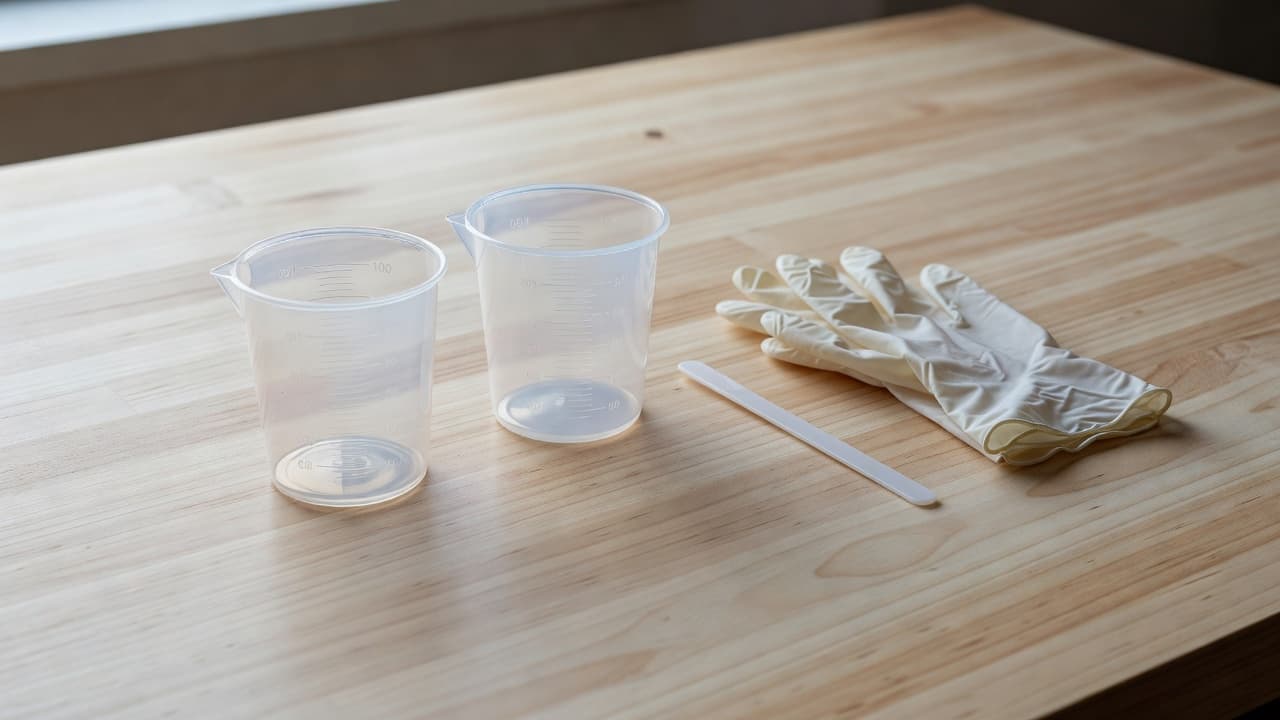
- Two graduated plastic mixing cups (never reuse old cups)
- Flat mixing sticks or silicone spatulas (wooden craft sticks work for small batches)
- Digital scale (for ratios measured by weight)
- Spreader or squeegee (for surface pours)
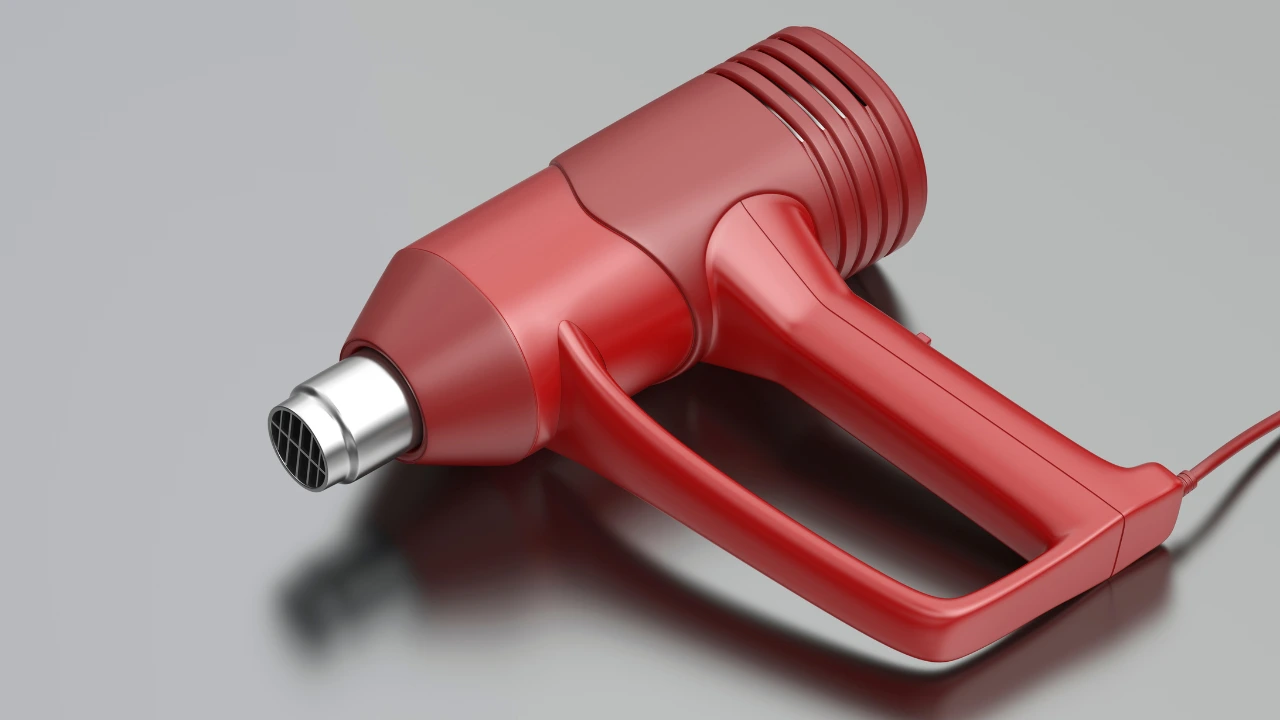
- Heat gun or propane torch (for bubble removal after pouring)
Safety essentials — epoxy resin safety:
Epoxy fumes and uncured resin can cause skin sensitization and respiratory irritation.
- Nitrile gloves (not latex — epoxy can pass through latex)
- Safety goggles to protect from splashes
- Half-face respirator with organic vapor (OV) cartridges — dust masks do not filter epoxy fumes
- Work in a well-ventilated space with cross-airflow (open windows, use fans to push fumes away from your breathing zone)
- Keep paper towels nearby for quick cleanup
Epoxy resin mixing ratio: volume vs. weight
Understanding your epoxy resin mixing ratio is the single most important factor in achieving a full, clear cure. An off-ratio mix will stay tacky, cure unevenly, or fail to harden entirely — even if it looks fine at first.
Most epoxy systems use one of these ratios:
| Ratio | What it means | Measured by |
|---|---|---|
| 1:1 | Equal parts resin and hardener | Volume (most common) |
| 2:1 | 2 parts resin to 1 part hardener | Volume or weight |
| 100:45 | Complex industrial ratios | Weight only |
Volume vs. weight: For most consumer and DIY products, measure by volume using graduated cups. Resin and hardener have different densities, so measuring equal weights when the ratio calls for equal volumes will give you the wrong result. When in doubt, measure by volume.
If your product specifies a weight ratio, use a digital scale with a resolution of at least 1 gram.
How to mix 2-part epoxy resin: step-by-step
Step 1 — Prepare your workspace
Control the room before you open any bottles:
- Temperature: Aim for 70–75°F (21–24°C). Cold epoxy thickens, traps more bubbles, and may not cure fully. Warm epoxy has a shorter working time (pot life).
- Humidity: Keep air humidity below 70%. High humidity can cause surface haze (“amine blush”) on some hardeners.
- Surface: Work on a level, clean, dust-free surface. Epoxy flows toward the lowest point — an unlevel surface means an uneven coat.
- Warm your bottles: If the epoxy is cold from storage, let both components sit at room temperature for at least 30 minutes before mixing. You can also warm them briefly in a warm (not hot) water bath if the manufacturer allows it.
Step 2 — Measure Part A and Part B accurately
- Use separate, clean, dry measuring cups for each component before combining.
- Follow your product’s exact mixing ratio — do not estimate or “eye” it.
- For volume ratios, use graduated cups with clearly marked lines.
- For weight ratios, zero your scale between each pour.
Even small deviations from the ratio can cause incomplete curing, weak spots, or a permanently sticky surface.
Step 3 — Combine and mix slowly
Pour both components into a single clean mixing cup.
- Begin mixing with a slow, controlled motion — move the stick along the cup walls, across the bottom, and fold the liquid through itself.
- Do not stir fast. Rapid stirring beats air into the mixture. Air = bubbles.
- Scrape the sides and the bottom of the cup frequently — unmixed resin and hardener like to cling to corners.
- Mix until the liquid looks completely uniform, with no swirls, cloudiness, or oily streaks visible.
- Minimum mixing time: Most products require 2–4 minutes of continuous mixing for a small batch. Larger batches need longer. Follow the manufacturer’s instructions.
Step 4 — Use the double-cup method for a cleaner blend
After your initial mix, pour the entire batch into a second clean mixing cup. Stir again for another 60–90 seconds, scraping sides and bottom.
This extra step catches any unmixed material that stuck to the first cup’s walls. It’s one of the easiest ways to avoid streaks and soft spots in the cured finish.
Step 5 — Pour immediately
Epoxy begins curing the moment Part A and Part B are combined. The time you have to work with it before it starts to gel is called the pot life (or working time) — this varies from 5 minutes to 45 minutes depending on the product and temperature.
Pour as soon as mixing is complete. For large surface pours, dispense in a slow, S-shaped stream close to the surface.
How to remove bubbles from epoxy resin
A few bubbles during mixing are normal — especially with thicker resins.
To minimize bubbles while mixing:
- Mix slowly from the start
- Let the mixed cup rest for 1–2 minutes before pouring (bubbles rise and pop at the surface)
- Warm the resin slightly before mixing if the manufacturer allows it — thinner resin releases bubbles more easily
After pouring:
- Pass a heat gun or propane torch slowly over the surface from 6–8 inches away. The heat reduces surface tension and brings bubbles to the top where they pop.
- Keep the torch moving — holding it in one place too long can yellow or scorch the resin.
- Do not use a torch on deep pours. The exothermic reaction in thick pours already generates heat; adding more can cause cracking.
Common mistakes that cause cloudy, sticky, or uneven epoxy
| Problem | Most likely cause | Fix |
|---|---|---|
| Sticky or soft spots | Off-ratio mix or insufficient mixing time | Remeasure and remix; sand tacky areas and recoat |
| Cloudy or hazy finish | Moisture, cold temperature, or fast-mixing bubbles | Control environment; mix slowly |
| Bubbles trapped in cure | Mixing too fast, resin too cold | Warm resin, slow mixing, torch after pour |
| Uneven cure / soft areas | Resin clung to cup walls, not mixed in | Use double-cup method; scrape thoroughly |
| Yellowing over time | UV exposure or low-quality resin | Use UV-resistant tabletop resin; avoid direct sunlight |
Epoxy resin cure time: when is it fully cured?
Epoxy cures in stages:
- Liquid → gel: The surface stops flowing. Usually 4–8 hours.
- Gel → solid (demolding stage): Hard enough to handle but still curing internally. Usually 12–24 hours.
- Full cure: Maximum hardness and clarity. Usually 48–72 hours, sometimes longer.
Do not sand, recoat, or put the piece into use before full cure. A piece that seems hard at 24 hours may still dent, scratch, or cloud under pressure.
Temperature affects cure time significantly: warmer rooms cure faster; cold rooms slow the process considerably, and temperatures below 60°F (15°C) can prevent some products from curing at all.
Frequently asked questions about mixing epoxy resin
What is the standard epoxy resin mixing ratio? Most consumer tabletop and art resins are 1:1 by volume (equal parts resin and hardener). Many casting resins and industrial systems use 2:1. Always check your specific product — never assume.
How long should I mix epoxy resin? A minimum of 2–3 minutes of continuous, slow mixing for small batches (under 16 oz combined). Larger batches need 4–5 minutes. Then pour into a second cup and mix for another 1–2 minutes.
Why is my epoxy resin still tacky after 24 hours? The most common causes are an inaccurate mixing ratio, insufficient mixing time, or a room temperature that was too cold during curing. In most cases, you can sand the tacky layer lightly and apply a fresh, correctly mixed coat once the temperature issue is resolved.
Can I mix epoxy in cold weather? Cold epoxy is thicker, traps more bubbles, and may not cure fully. Keep materials and the workspace above 65°F (18°C). Warm the bottles in a warm water bath before mixing if needed.
What is “pot life” in epoxy? Pot life (also called working time) is the time between when you combine the components and when the mixture becomes too thick or gel-like to pour or spread. It ranges from 5 minutes (fast-setting products) to 45 minutes or more (slow-cure casting resins). Temperature affects pot life: warmer conditions shorten it; cooler conditions extend it.
Can I add color to epoxy resin? Yes — add alcohol inks, epoxy pigment pastes, mica powders, or dedicated resin dyes after the two components are fully mixed. Add colorant sparingly (usually no more than 6% by weight) to avoid affecting the cure.
Why does my epoxy resin turn yellow? Most yellowing comes from UV exposure over time. Use a UV-stabilized tabletop or bar-top resin for surfaces exposed to light, and avoid leaving uncured resin in direct sunlight.
Summary: the four keys to a clear epoxy finish
Getting a glass-like result consistently comes down to four things:
- The right epoxy for your project type and pour depth
- Exact measuring — by volume or weight, as the product specifies
- Slow, thorough mixing — with the double-cup method for extra reliability
- A controlled environment — warm, dry, level, and dust-free
Get those right, and epoxy resin rewards you with the crystal-clear finish you’re after. Take your time in the cup, and the pour will look after itself.
Get: molds ,tools, kits, mixer, pigments